
10 Tips for Masterboard Mastery
If you want to watch me putting together a masterboard in real time and sharing all my tips, click here. Otherwise, let’s get straight into the nitty gritty below.
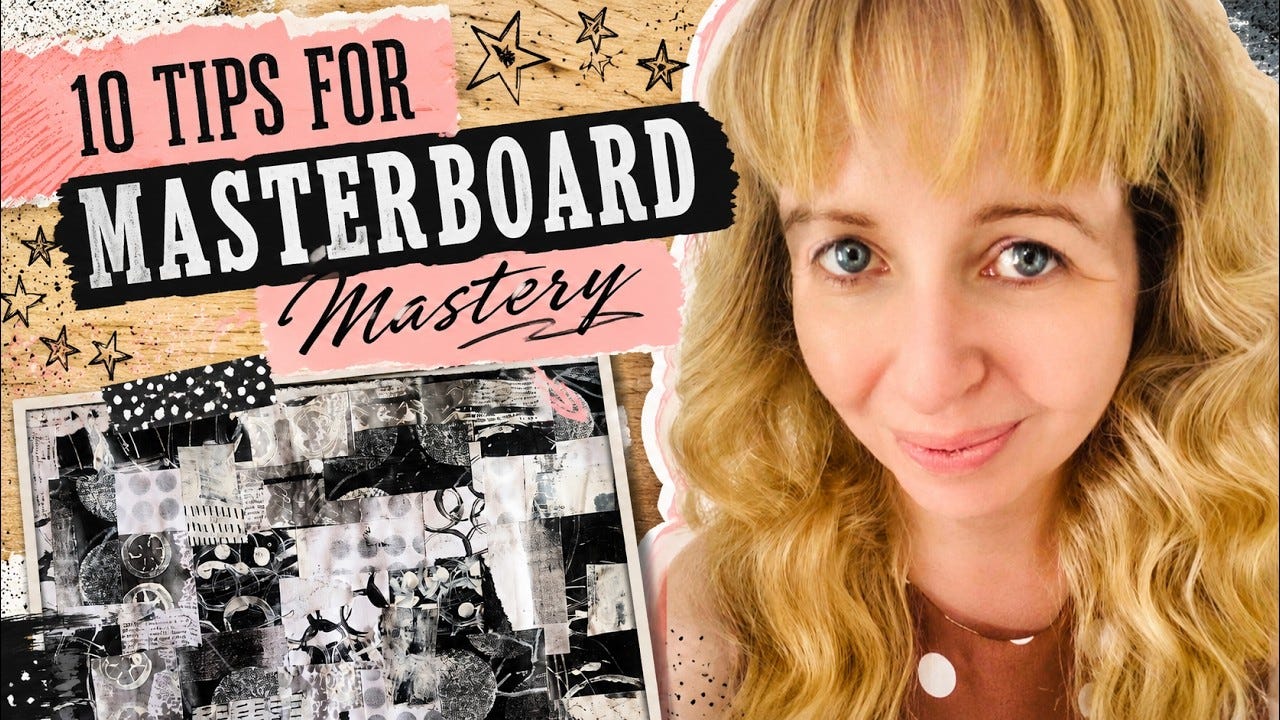
10 Tips for Masterboard Mastery
If you’ve ever found yourself staring at a pile of painted papers wondering what on earth to do with them, let me introduce you to one of my favourite creative solutions: the masterboard.
A masterboard is essentially a large collage surface built from layers of paper, texture, colour, and marks — all with the intention of cutting it up later into tags, collage fodder, journal covers, and more. It’s playful, practical, and an excellent way to use up scraps.
Here are 10 tips to help you create masterboards that feel rich, cohesive, and full of possibility.
1. Start With a Limited Palette
One of the easiest ways to make a masterboard feel intentional is to limit your colours.
Monochrome palettes, vintage tones, complementary colours, or even a simple all shades of blue approach can instantly create harmony… even if the actual process feels gloriously chaotic.
Oddly enough, fewer choices often lead to more freedom.
2. Tear, Don’t Just Cut
Torn papers create softer, more organic edges than scissors ever can.
Those feathered edges and imperfect lines help a masterboard feel layered and natural rather than overly polished. Of course, mixing torn and cut elements can create lovely contrast too, there’s no right or wrong here.
Pay attention to what looks good to your eye.
3. Glue Matters
For large masterboards, wet glue can be a lifesaver.
I often use matte gel medium because it’s quick to apply over big surfaces, though the trade-off is drying time. Glue sticks work beautifully too, especially for smaller boards, and they’re wonderfully relaxing if you’re in the mood for a slower process.
Choose the glue that matches your mood and your patience level.
4. Don’t Overthink the Composition
This is important:
A masterboard is not a finished artwork.
You’re creating raw material: a surface full of possibilities that will later be cut apart, layered, and transformed into something else. So don’t pressure yourself to create the perfect arrangement.
Glue freely. Trust the process.
5. Repeat Elements for Cohesion
If your board starts feeling chaotic, repetition can help pull everything together.
Repeat certain colours, textures, shapes, or papers in multiple areas across the board. It creates visual echoes that make the whole piece feel connected.
Think pattern, not perfection.
6. Choose the Right Substrate
The base paper matters more than people think.
If you’re planning to make sturdy journal covers, use thicker card. If you want flexible collage paper, go thinner.
You don’t always need a plan before you begin — but if you do have a particular use in mind, choose your substrate accordingly.
7. Work Quickly
Masterboards thrive on energy.
If you hesitate over every placement, things can start to feel stiff and overworked. Try placing each piece on the count of five if you start to hesitate. A few seconds to place each piece and keep moving.
Fast decisions often lead to surprisingly dynamic results.
8. Rotate the Board as You Work
A simple trick, but a good one.
Turning your substrate as you glue papers down naturally changes the direction of shapes and textures across the board. It adds movement and keeps everything from leaning too heavily in one direction.
It’s one of those tiny habits that makes a surprisingly big difference.
9. Let Things Overlap
Masterboards usually look richer when elements interact with one another rather than sitting neatly side by side.
Allow papers to interrupt each other. Cover things partially. Build layers.
It creates depth, integration, and that lovely “collected over time” feeling.
10. Use Contrast
Contrast is what brings a masterboard to life.
Mix light against dark. Busy patterns against quiet spaces. Large shapes against tiny details. Smooth surfaces against texture.
Without contrast, a board can feel flat. With it, the whole thing starts to sing.
What Can You Actually Do With a Masterboard?
Once your board is finished, the real fun begins. Here are five of my favourite ways to use them:
Journaling Cards & Tags
Cut your board into rectangles, squares, or tags for instant collage fodder.
Journal Covers
Masterboards make fantastic layered journal covers, especially double-sided ones.
Fussy Cut Shapes
Cut out interesting fragments, abstract shapes, hearts, butterflies, or textured embellishments.
Mini Artworks
Sometimes a tiny section of a masterboard is already perfect on its own. Frame it, mount it, or tuck it into a journal.
Concertina Artist Books
Fold sections into accordion books and use them as the base for painting, collage, or visual journaling.
What I love most about masterboards is that they’re both a process and a resource. You get the joy of making them, then the joy of using them later in entirely new ways.
It’s creativity that keeps unfolding.